
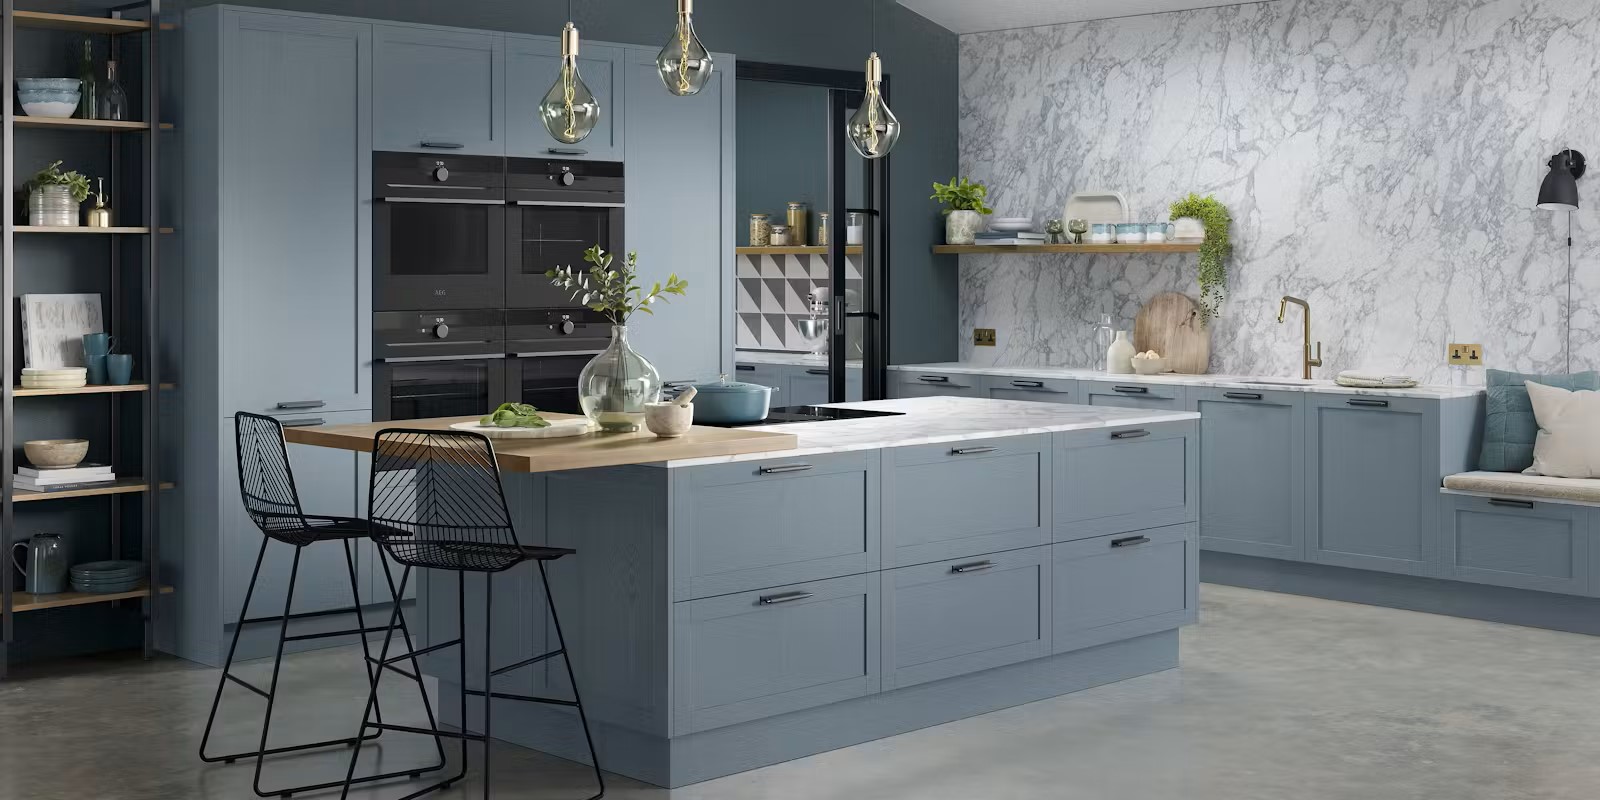
Your painted kitchen has been manufactured to the highest standards, however like any other painted furniture your kitchen needs to be handle with care. If you accidentally damage your kitchen, please see the below remediation steps recommended.
Repairing Minor Chips
We recommend that our paint pot is only used for minor chips. Follow the step by step guide when repairing minor chips in your kitchen:
1. Clean the area with a mild detergent before wiping dry.
2. Shake the paint pot vigorously for a minimum of 90 seconds to mix the paint thoroughly.
3. For an area of 1 – 2mm we recommend the fine control nib and for an area of 3 – 5mm we recommend the brush applicator.
4. Gently apply the paint on the desired area using either a dabbing motion(nib) or a gentle brush stroke(brush)
5. If you are touching up a product with a grain ensure to paint in the same direction as the grain.
6. Remove any excess using a lint free cloth.
7. Leave to dry for a minimum of 5 minutes to ensure the area is dry.
8. Apply another coat if required.
9. Try to avoid touching the area for a minimum of two weeks. Although the paint is touch dry, it will continue to cure and harden over time.
Repairing Chips and Gouges
When repairing chips and gouges we recommend using our paint pen and wax kit along with our step by step guide:
1. Remove any loose particles/high points.
2. Apply the soft wax filler to the damaged area using the applicator.
3. Remove the surplus filler using the applicator.
4. Use an abrasive pad to remove any difference in sheen level.
Repairing Abrasions, Scuffs and Scratches
To repair abrasions, scuffs and scratches we recommend using our paint pen and following these steps:
1. Shake pen prior to use.
2. Remove the cap with the pen pointing downwards, and hold it at a slight angle on the surface to be repaired. Gently press down to activate the paint flow. (This can take between 10 and 90 seconds)
4. Apply to the desired area and leave to dry for 10 minutes before touching.
5. Replace the cap firmly after use.